how to cold brew coffee
Want a smoother, less bitter cup that keeps in the fridge? This short guide shows a simple path for making a large batch at home with tools you already own.
Cold brew is made by steeping grounds in cool water for many hours rather than pouring hot liquid over ice. That slow extraction yields a mellow profile and low acidity.
Expect long steep times, not long work times. Most of the process is hands-off, and a single jar can last through the week. You can make a concentrate for easy dilution or a ready-drink pot for pour-and-go mornings.
Ahead, you will learn the difference between iced drinks and true steeped brew, which gear and grind size matter, the classic mason-jar method, and simple tweaks for strength and flavor.
– Learn practical ratios and clear steep times.
– Pick tools and grind size for grit-free results.
– Tips for fixing weak, muddy, or overly strong batches.
Cold brew coffee vs. iced coffee: what’s the difference?
One cold cup starts with hot extraction; another begins with cool water—and that makes all the difference.
The core process sets each drink apart. Iced coffee is usually hot brewed and then cooled or poured over ice. That hot extraction pulls acids and bitter oils quickly.
By contrast, steeping grounds in room temperature or cold water for many hours extracts flavor more slowly. The result often feels smoother and less sharp in the glass.
Why steeping in cool water tastes smoother
Slow, cool extraction favors desirable flavor compounds while leaving many bitter or sour molecules behind. That gives a mellow, sometimes almost sweet profile.
Cold or room temperature water still pulls caffeine, so strength can be high without the harsh edge of hot-brewed drinks.
Serving vs. brewing: the dilution problem
Watery iced coffee usually comes from hot brewed coffee cooled and then diluted twice—first when cooled and again as ice melts. That thins taste quickly.
Both drinks can appear cold in a glass, but brewing temperature and extraction time are the defining factors. Cold steeped batches can be poured over ice, mixed with milk, or warmed later without changing how they were extracted.
- Smoothness: slow cool extraction wins.
- Speed: iced drink from hot brew is faster.
- Flexibility: steeped concentrate is easy to dilute or mix.
| Feature | Iced coffee | Steeped cold brew |
|---|---|---|
| Initial water temperature | Hot water | Room temperature or cold water |
| Typical flavor | Bright, sometimes bitter | Smoother, lower acidity |
| Common issue | Watery when ice melts | Needs long steep time |
For a deeper read on differences and serving tips, see this comparison guide.
What you need to make cold brew at home

A great batch begins with a few careful choices: beans, water, and a simple container. Pick quality coffee beans first—balanced, smooth roasts often taste best when steeped long. The final cup can only be as good as the beans you start with.
Best beans and why freshly ground wins
Freshly ground beans release aromatic oils that fade quickly once exposed to air. Pre-ground packages lose some brightness and can taste flat after a few days.
If you can, grind coffee beans just before mixing. Use a burr grinder for even particle size; if not, ask a local roaster to grind on a coarse setting.
Filtered water and flavor
Treat water as an ingredient. Filtered water gives a cleaner, sweeter cup than hard tap water with strong mineral notes. Aim for neutral-tasting water for the best results.
Simple equipment
Low-cost gear works fine: a mason jar or any large container for steeping, a fine mesh strainer, and a cheesecloth or paper filter to catch fines. Coarse grounds speed filtration and cut muddiness.
French press alternative
A French press is an easy alternate method. Steep coffee grounds, then press the plunger to separate grounds before pouring into a storage jar.
- Choose quality coffee beans first.
- Grind coffee beans fresh and coarse.
- Use filtered water for cleaner taste.
- Steep in a jar or container; strain with a strainer and cloth or paper filter.
| Item | Purpose | Why it matters | Notes |
|---|---|---|---|
| Mason jar / container | Steep and store | Simple, airtight storage keeps flavor | Use large size for batch recipe |
| Burr grinder / grinder | Consistent grind coffee beans | Even extraction and easier straining | Burr preferred over blade |
| Fine mesh strainer + cloth / filter | Separate coffee grounds | Removes fines for a clearer cup | Layer cloth inside strainer for best results |
| French press | Alternative steeping method | Built-in separation with a press | Press once and transfer to a jar |
how to cold brew coffee with the classic mason jar method
A mason jar, coarse grounds, and a steady wait are all you need for a reliable steeped batch. This method works in any kitchen without special gadgets. Follow the steps below for a clean, fridge-ready concentrate or a ready-to-drink pitcher.
Grind and visual cue
Use a coarse grind—about the texture of cornmeal or slightly rougher. Coarsely ground beans cut fines and make straining easier. A burr grinder gives the most consistent particles.
Choose your ratio
For concentrate: 1½ cups coarsely ground to 3 cups filtered water (1:2). For a ready cup: 1 cup beans to 4 cups water. Adjust after tasting.
Combine, stir, and steep
Add grounds to the jar or container, pour in water, then stir firmly so no dry pockets remain. Cover and let sit at room temperature.
Time and temperature
Steep covered for 12–24 hours. Many prefer 12–15 hours to avoid bitter notes. Longer time increases extraction; watch flavor, not the clock alone.
Strain for a grit-free result
Pour through a fine mesh strainer lined with cheesecloth or a paper filter. Strain slowly. If you own a maker with a filter basket, lift and drain—no second step required.
Finish and chill
Transfer strained concentrate to a clean jar and refrigerate. The brew will keep its best flavor for up to a week and is ready for serving over ice or diluted as you like.
| Step | Example | Tip |
|---|---|---|
| Grind | Coarse, cornmeal texture | Use a burr grinder |
| Ratio | 1½ cups : 3 cups (concentrate) | Try 1:4 for ready-drink |
| Steep | 12–24 hours at room temperature | 12–15 hours avoids extra bitterness |
Dial in strength, flavor, and caffeine

Small changes in ratio and steep time make the biggest difference in taste. Use three main levers: coffee-to-water ratio, hours of contact, and grind consistency. Log each batch so you can repeat what works.
Ratio and intensity: More grounds per water yields a stronger concentrate. Typical concentrate ranges run from about 1:2 up to 1:6; ready-to-drink mixes fall near 1:8–1:16. Make concentrate when you want flexible dilution later.
Steep hours and extraction
Short steep time can taste weak. Too many hours can pull bitter notes. Many home batches land between 12 and 15 hours—taste and stop within that window.
Grinder tips for consistency
Burr grinders give even coarse particles and cleaner extraction. Blade grinders create fines and large pieces that make muddy, uneven cups.
- If bitter or muddy: go coarser or cut hours back.
- If thin: increase ratio or add a couple extra hours.
- If harsh: check water and double-filter the strained brew.
| Control | Fix | Result |
|---|---|---|
| Ratio (more grounds) | Increase concentrate | Higher intensity |
| Hours (longer) | More extraction | Stronger, risk of bitterness |
| Grind (coarser) | Cleaner cup | Less sediment, balanced flavor |
Store, serve, and enjoy your cold brew
Keep a batch chilled and handy by using a sealed jar and a simple fridge routine. Strain the mix, cap the container, and place it on a middle shelf for even cooling.
Fridge storage: how long it keeps peak flavor
Transfer strained cold brewed coffee into a clean, sealed bottle and refrigerate. Most sources note best flavor within the first 24–48 hours, and good quality for up to a week.
Serving options: quick ideas for every cup
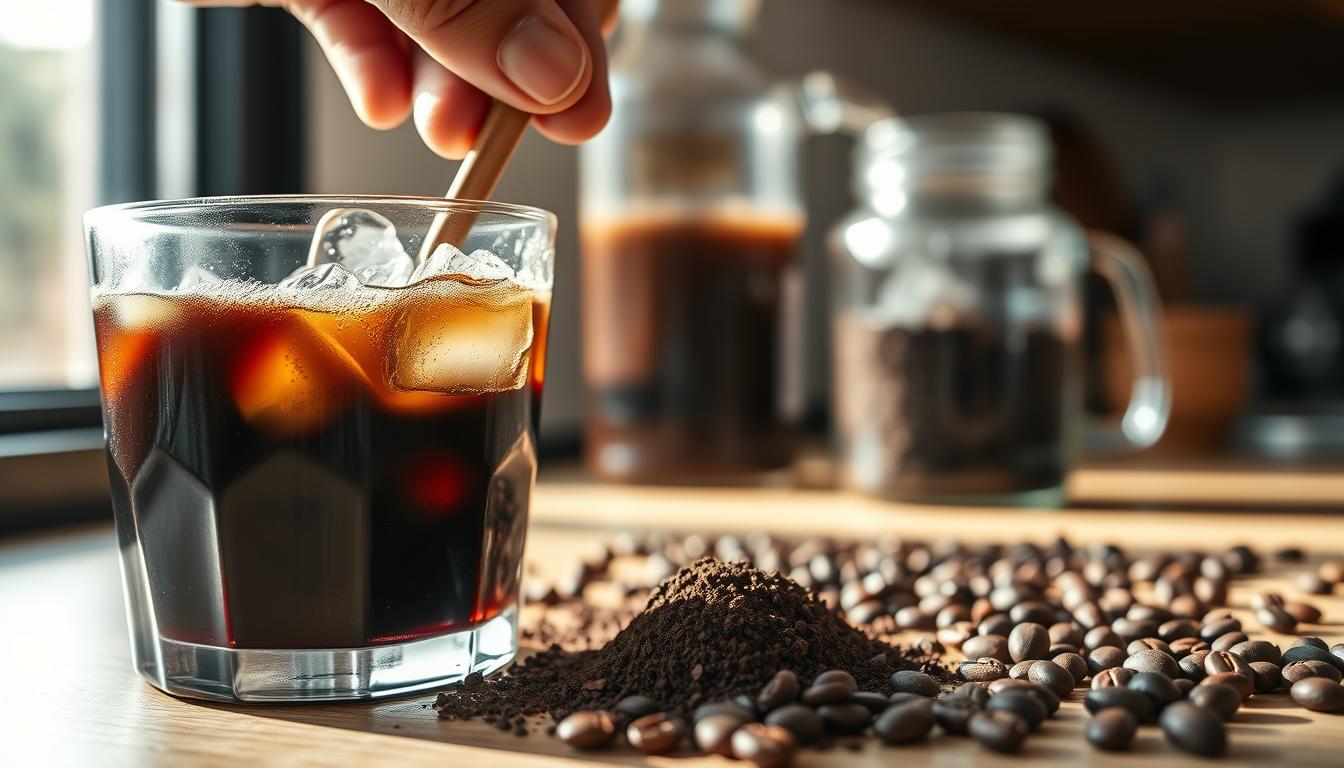
Serve over lots of ice or dilute a concentrate with water until balance fits your taste. For ready-drink batches, pour into a glass and add milk if you like a creamier sip.
Pro move: ice that won’t water down your drink
Freeze leftover brew in an ice tray. Toss those coffee ice cubes into a glass so the drink stays cold without watering down. Add dairy, oat, or almond milk for softness.
| Step | Timing | Serving tip | Why it matters |
|---|---|---|---|
| Strain & seal | After steeping | Use tight lid | Preserves flavor in fridge |
| Peak window | 24–48 hours | Drink early | Tastes brightest |
| Week storage | Up to 7 days | Smell before use | Still good but fades |
| Serve | Any time | Ice or milk | Adjust strength and texture |
Your perfect cold brew, ready whenever you are
With a simple routine you can have a smooth drink at hand any day.
Follow a repeatable formula: pick good beans, grind coarse, mix in a clean container with filtered water, steep for the right time, filter well, and refrigerate.
Control strength with ratio, set extraction by hours, and fine-tune each cup by diluting or adding milk. Keep brief notes on ratio, grind setting, and steep hours so your next batch matches what you like.
Equipment can stay basic—a jar plus a filter setup works. Upgrades are optional; a dedicated maker only speeds steps, not results.
Batch prep saves morning work. Pour over ice (use frozen brew cubes if you want no melt), adjust with water or milk, and enjoy a smooth brew any time.