how to clean a coffee pot with vinegar
This short guide sets the goal: make your brewer produce clean coffee that tastes right. Running harsh chemical cleaners can leave residue that ends up in your cup, so many choose a simple pantry fix instead.
Vinegar cleaning means mixing white vinegar and water, then running that mix through your coffee maker like a normal brew. That cycle flushes the internal reservoir and tubing, while the carafe and removable parts still need a quick scrub by hand.
Expect a simple, inexpensive routine that suits a US home kitchen: prep the solution, run the vinegar-and-water cycle, rinse thoroughly with fresh water, then wipe the pot and exterior. The payoff is clearer flavor in every cup and fewer off smells caused by buildup.
Why your coffee maker starts tasting off over time
Every brew leaves a trace; over weeks those traces can make your cup taste off.
Hard water and daily use let mineral deposits form inside valves and tubing. Over months these minerals coat pathways and narrow flow. That trapped buildup also collects oils and fine grounds, creating stubborn residue in the basket and carafe lid.
Health and flavor risks
Warm, damp internals create an ideal spot for bacteria and mold when a machine sits uncleaned. That growth can add odd odors or sour notes even with fresh beans.
Performance and brew impact
- Mineral buildup restricts flow and changes brew time.
- Blocked passages can lower temperature and reduce extraction.
- Old oils add bitterness, cardboard-like flavors, and stale taste.
These issues combine in every cup and undermine the goal to keep coffee tasting fresh. A targeted descale and a solid rinse plan remove deposits and residue so your maker runs closer to its original performance.
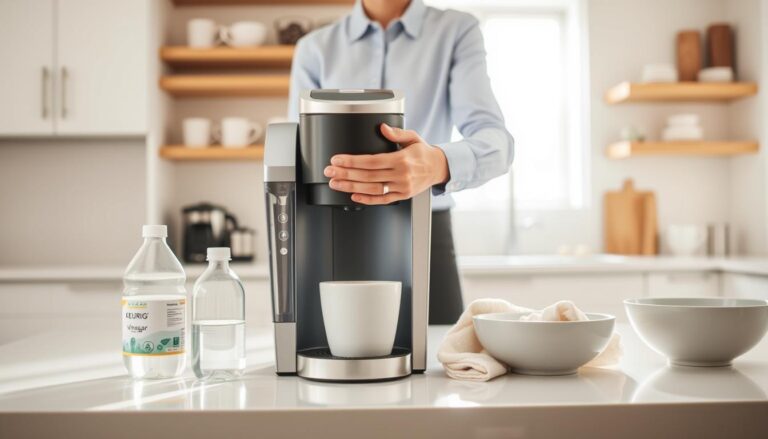
What to do before you run a vinegar cleaning cycle

A quick prep step prevents old residues from circulating during the cycle. Clear the surface and gather removable parts so the descaling run focuses on internal buildup.
Empty the pot, toss grounds, and rinse
Dump any used coffee grounds and discard the filter. Empty the carafe and remove loose residue.
- Empty the pot and carafe completely so nothing recirculates.
- Rinse the carafe and accessible surfaces to remove loose oils and grounds.
- Wipe any spills around the brew basket before proceeding.
Remove the filter, water filter, and other removable parts
Take out the filter basket, carafe lid, and any reusable filter. Some models include a water filter in the reservoir; remove it so the element is not damaged.
- Set removable parts aside for separate washing.
- Make sure the machine is off and cool, then confirm the water reservoir is empty.
- Check the manual or search your make and model for any specific prep steps before running a cleaning coffee maker cycle.
| Prep task | Time | Why it matters |
|---|---|---|
| Dump grounds | 1 minute | Prevents old grounds from re-entering the brew path |
| Rinse carafe | 2 minutes | Removes loose oils and improves rinse effectiveness |
| Remove filters and parts | 2–3 minutes | Protects delicate filters and allows separate washing |
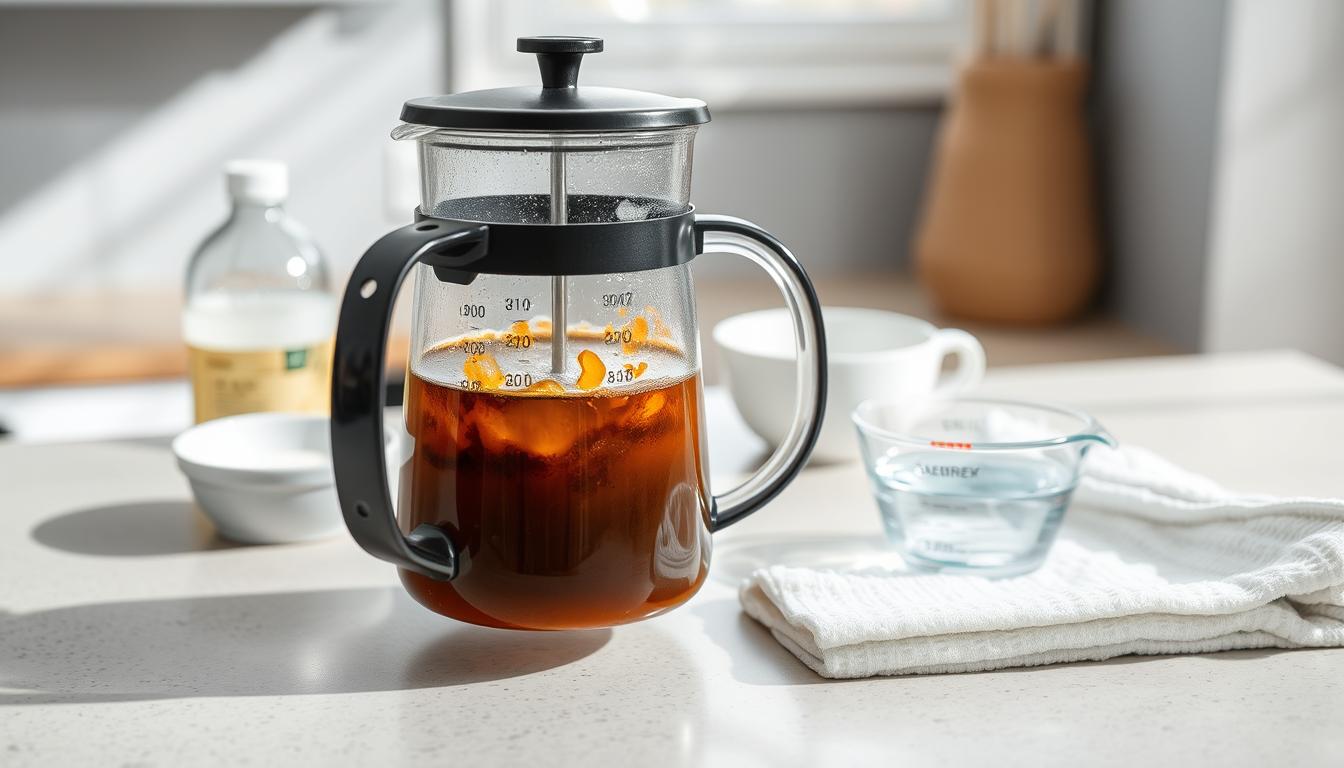
How to clean a coffee pot with vinegar using a brew cycle
Use a measured vinegar solution and a careful brew cycle to remove scale and oils from internal parts. Mix equal parts white vinegar and water in a measuring cup or make a mixture sized to your machine’s reservoir. This ratio gives effective descaling without excess acidity.
Filling the water reservoir safely
Pour the vinegar solution into the water reservoir slowly to avoid splashes near electronics. Make sure the carafe is seated so the liquid collects safely. Check your maker manual for any “clean” or descale mode before starting.
Running and pausing the brew cycle
Start a brew cycle and let it run about halfway. Turn the machine off or pause and let the solution sit for 30 minutes to 1 hour. This soak time softens mineral deposits and loosens trapped oils.
Finishing, repeating, and rinsing
Restart and finish the cycle, then assess flow and odor. If deposits persist, repeat the vinegar cycle once more.
Finally, run at least two full cycles using clean water to flush the reservoir and tubing. This removes any lingering vinegar taste so your next brew tastes normal. Plan for an hour-plus including soak and rinse time.
| Step | Typical sit time | Why it matters |
|---|---|---|
| Fill reservoir with equal parts white vinegar and water | 0 minutes | Correct ratio prevents over-acidifying while descaling |
| Pause mid-cycle and let solution sit | 30–60 minutes | Softens mineral deposits and breaks down oils |
| Run 2+ clean-water cycles | 10–30 minutes | Flushes the system so the maker no longer tastes of vinegar |
For model-specific tips and extra details, consult this short guide for professional steps: vinegar cleaning instructions.
Cleaning the carafe, parts, and exterior for a truly clean coffee pot

A spotless carafe and tidy removable parts finish any descaling job and restore true flavor. Descaling clears internal scale, but oils and ring marks still cling to visible surfaces.
Scrubbing coffee stains inside the carafe with baking soda and warm water
Add warm water and a few tablespoons of baking soda to the carafe. Use a soft brush and gentle circles to lift stains and ring marks.
Rinse thoroughly until no gritty baking soda remains. Leftover residue can change flavor, so keep rinsing until water runs clear.
Washing removable parts with dish soap and hot water, then rinsing thoroughly
Wash filter baskets, lids, and other parts in hot water with dish soap. Focus on crevices where oils collect and use a small brush where needed.
Rinse each part well to avoid a soapy taste. Dry parts fully before reassembly.
Wiping down the machine exterior with hot, soapy water and a lint-free cloth
Wipe the machine body and warming plate with hot, soapy water and a lint-free cloth. Clean drip zones and control panels lightly.
- Avoid soaking any electrical components.
- Dry everything completely before reassembling and running the next brew.
- For extra guidance on keeping a clean coffee maker, see this brief guide: clean coffee maker.
| Task | Material | Time |
|---|---|---|
| Carafe scrub | Baking soda, warm water, brush | 5–10 minutes |
| Parts wash | Dish soap, hot water | 5 minutes |
| Exterior wipe | Hot, soapy water, lint-free cloth | 3–5 minutes |
How often to clean your coffee maker and keep buildup from coming back
A predictable maintenance routine saves time and keeps your brewer performing well.
Follow Consumer Reports guidance: plan a full descaling every three to six months based on use. If you brew many cups daily, or your water is hard, monthly maintenance makes sense.
Choosing a realistic schedule
Light users who brew a few cups per week can stick with three to six months. Heavy daily use, hard water, or any sour or metallic taste means monthly action is prudent.
Quick habits that cut buildup
After each brew, empty the pot and discard grounds. Rinse the carafe and basket so oils and fines do not linger.
Top off and refresh the reservoir with fresh water instead of leaving it sitting. Check your maker manual for model-specific steps; if the paper copy is gone, search the make and model online.
| Schedule | When to use it | Why it matters |
|---|---|---|
| Monthly | Daily brewing, hard water, flavor issues | Prevents scale and keeps cup coffee tasting fresh |
| Every 3–6 months | Moderate use in a home | Routine descaling keeps performance even |
| Daily quick habits | All users | Empty pot, discard grounds, rinse parts to reduce emergency cleaning |
Fresh-tasting coffee starts with a simple cleaning routine you’ll actually stick with
.
Small, regular steps make your maker run like new and keep flavor true.
Stick to one deep solution cycle on schedule (vinegar or lemon juice mixed with water), then run plain water cycles until no tang remains. Empty and rinse the carafe after each use and wash lids and baskets with dish soap now and then.
If your next cup tastes dull or flow slows, that signal means time for action, not new beans. Manual scrubbing removes oily film that any machine cycle misses.
Pick a routine you will follow. That habit keeps the pot, the maker, and every cup tasting right day after day.