how to use a french press coffee maker
The full-immersion brewing style yields a rich, heavy-bodied cup that many drip systems cannot match. Clean gear and the right grind help that flavor shine, as noted by Starbucks and Stumptown.
This short guide previews the exact step sequence you will follow, from prep through pour. Grounds steep in hot water, then a mesh filter separates them. That simple logic explains why texture and strength change when grind, time, or temperature vary.
Follow a simple success checklist: clean equipment, correct ratio, coarse grind, near-boil water, steady minutes, then press slowly for a cleaner cup. The article also covers dialing taste, serving right away, and keeping habits that protect flavor.
What you’ll learn next: needed gear, step-by-step brew, dialing in taste, serving and cleaning, and repeatable habits that lock in great results. For a deeper walk-through, see this practical press coffee maker guide.
What you need for French press coffee at home

Good results begin with simple parts and fresh ingredients you can trust. This short list helps you gather basics and understand why each item matters.
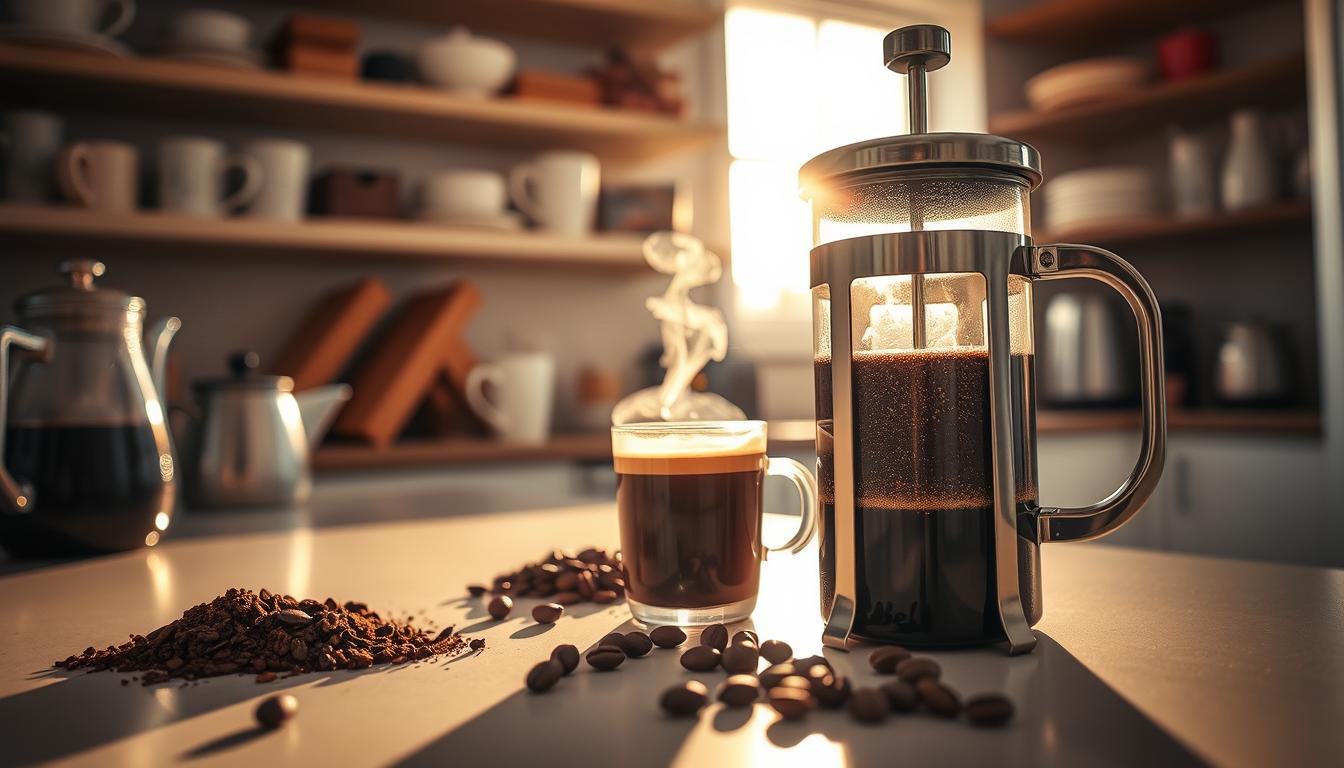
Parts and what they do
The carafe holds the brew. The lid guides the plunger and keeps heat in. The plunger presses grounds below a metal filter, which separates liquid without paper.
| Part | Role | Tip |
|---|---|---|
| Carafe | Contains hot water and grounds during steep | Check for chips; intact glass is safer |
| Plunger & filter | Separates grounds while allowing oil through | Replace screens if bent or clogged |
| Lid | Helps keep heat and aligns the plunger | Keep it seated at the top while pressing |
Tools, grind, and water
Must-haves include a kettle, a spoon, tablespoons or a scale, and a mug. A burr grinder is a nice upgrade for consistent particle size.
Start with whole coffee beans and grind coarse—think breadcrumbs. Coarse grind yields fewer fines, less sludge, and an easier plunge. Good water quality matters, since most of the cup is water. Measure quantity later for precise strength.
Safety note: make sure the carafe sits flat and the lid aligns before pressing to avoid spills at the top.
how to use a french press coffee maker

A stable vessel temperature sets the stage for an even extraction. The short workflow below gives repeatable cues for each stage of the press process.
Preheat the carafe
Rinse the carafe with hot water, then discard. This keeps temperature steady during the steep and improves extraction.
Measure the ratio
Use either tablespoons or grams: 2 Tbsp (10 g) per 6 fl oz (180 ml) is a solid baseline. Adjust slightly for strength.
Grind and add grounds
Grind beans to medium-coarse, like breadcrumbs. Add grounds, then pour hot water (about 30 seconds off boil, roughly 195–205°F).
Bloom, stir, and steep
Pour just enough water to wet the grounds and wait ~30 seconds. Ensure no dry spots, then top up, stir gently, and break the crust with a wooden spoon if needed.
Press and serve
Let it steep about four minutes (3–5 minutes works by taste). Press the plunger slowly and steadily to minimize sediment and agitation.
- Preheat carafe
- Measure ratio
- Grind and add grounds
- Bloom 30 seconds
- Steep ~4 minutes
- Press slowly
Dial in taste: adjusting strength, brew time, and grind
Small changes in dose, steep time, or particle size shift the cup quickly. Follow a single change per brew and record the result. This keeps results consistent and repeatable.
Stronger versus milder
Start from the baseline ratio. To make a stronger cup, add one extra tablespoon of ground coffee per cup or reduce water slightly. For a milder cup, remove one tablespoon or add a splash more water.
Bitterness and sludge
If the brew tastes sharp or bitter, check steep time and grind. Oversteeping often causes harsh notes; cut steep minutes by 30–60 seconds and try again.
Fine grounds create sludge and over-extraction. Switch to a coarser grind and press slowly for a cleaner finish.
Water temperature guide
Aim for water just off boil, roughly 195–205°F. Use slightly cooler water for dark roasts and a hair hotter for light roasts to balance sweetness and acidity.
| Problem | Likely Cause | Quick Fix |
|---|---|---|
| Bitter cup | Too long steep time or too fine grind | Reduce minutes by 30–60 sec; coarsen grind |
| Weak cup | Too little ground coffee or too much water | Add tablespoons or cut water slightly |
| Sludge in cup | Excess fines or fast press | Use coarser grind and press slowly |
Serve your brew the right way and keep it from turning bitter
Move the liquid off the grounds immediately; that simple step keeps flavor bright. Once you press, pour at once into a warmed carafe or straight into cups. Leaving brew on the grounds lets extraction continue and quickly adds harsh, bitter notes.
Pouring and tasting
Decanting stops extraction and preserves balance. For one person, pour into a single cup. For groups, use a warmed carafe and serve from there. If coffee sits more than a few minutes on the grounds, expect sharper taste and more astringency.
Quick cleaning and care
Add a splash of water, swirl to loosen grounds, then dump into trash or compost. Rinse all parts and reassemble so the next brew starts with clean surfaces.
Make sure old oils do not cling to the filter screen or carafe. Residue dulls flavor over time. Avoid rinsing large amounts of grounds down the drain; compost or bin is safer for plumbing and the planet.
Make every press count with simple habits that improve every cup
Small, repeatable habits make the difference between an OK cup and one you crave every morning.
Always start with quality coffee beans, a steady grind, the right ratio, near‑boil water, and a consistent steep time in minutes before pressing.
Measure with tablespoons or a scale and change only one variable when testing taste. That consistency speeds learning and keeps results steady.
Care for the filter, lid, and plunger: disassemble, rinse, and dry to stop old oils from dulling flavor. Don’t over‑grind, oversteep, or reuse spent grounds.
Finally, remember this method’s versatility — try loose‑leaf tea, cold brew, or milk froth with the same workflow — and treat this guide as a daily checklist for better french press coffee at home.