how to clean a keurig coffee maker
Unplug the unit first. Safety is the top rule before any disassembly or rinsing.
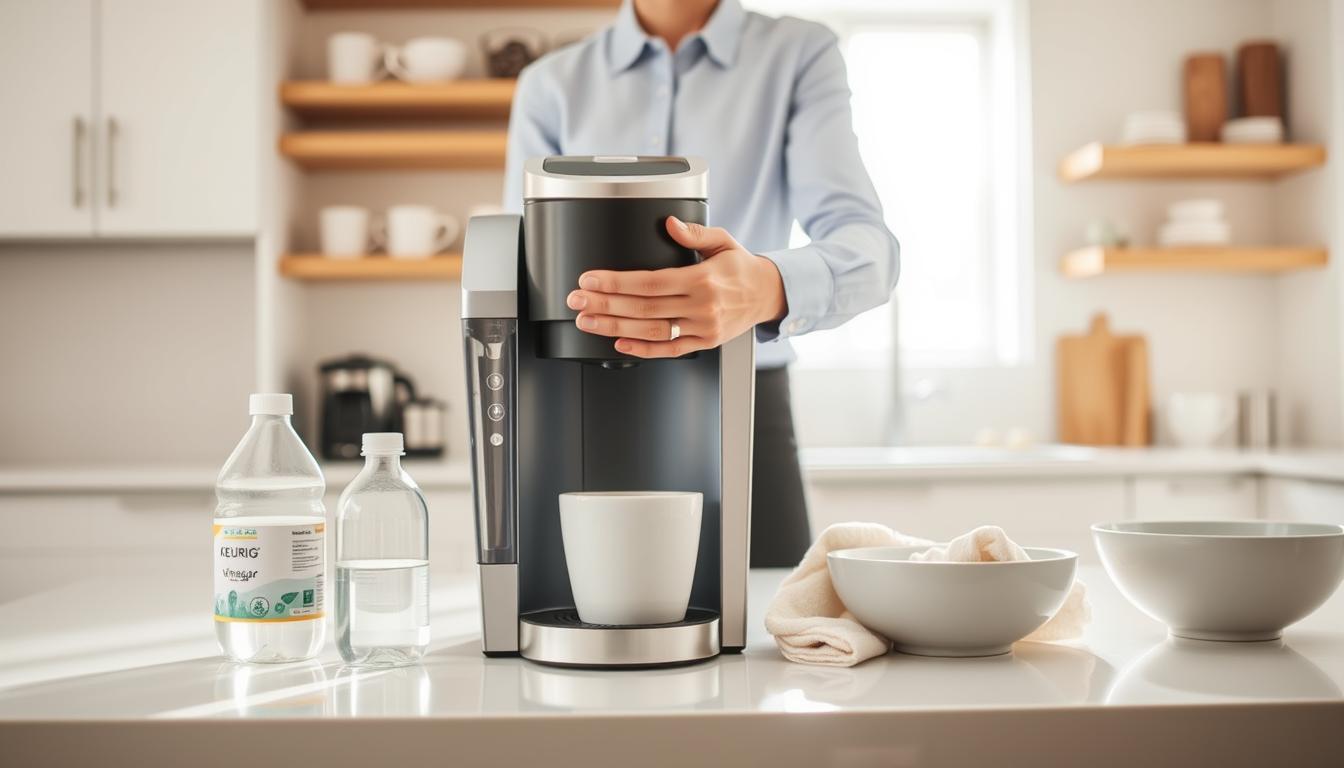
This short guide shows a three-part routine that makes brewing better. You will wipe the exterior, clear clogs in the pod area, and descale mineral buildup.
Expect two care levels: quick weekly work for removable parts and a deeper descale every three to six months. Most steps use common household supplies and simple water-only brew cycles to flush the system.
Signs your brewer needs attention include off-tasting coffee, slower pours, or sputtering during a brew. These clues mean it is time for basic maintenance rather than replacement.
Follow the three-step framework and the task will feel manageable. The result is a reliable machine that brews brighter cups and runs without fuss.
Why regular Keurig cleaning matters for taste, safety, and performance</h2>
A steady cleaning habit protects flavor, safety, and the machine’s parts. Keep this simple routine and you will avoid off-tasting brews and avoidable repairs.
Damp, dark spots like the pod holder and drip tray trap water and stray grounds. Those wet zones can grow mold and bacteria if left unwashed. Emptying and rinsing these parts prevents microbial buildup and unpleasant odors.
What builds up and where
- Coffee oils and old coffee grounds cling to funnels and seals, creating bitter notes and cross-flavor issues.
- Hard water minerals collect inside tubing and valves, causing clogs or sputtering during a brew.
- Small maintenance steps keep your coffee machine running well and extend its lifespan.
| Area | Common problem | Effect |
|---|---|---|
| Pod holder | Mold, grounds buildup | Bad taste, odors, clog risk |
| Drip tray | Stale water, grime | Unpleasant smell, bacteria |
| Internal parts | Mineral deposits | Sputtering, reduced flow, shorter life for makers and machines |
Think of maintenance as prevention: a few minutes each week cuts down emergency fixes later. A short descaling schedule will keep your brewer tasting fresh and working smoothly.
What you’ll need before you clean your Keurig coffee maker</h2>
Gathering the right supplies makes the whole process faster and less messy. Spend a few minutes assembling items so you won’t stop halfway through.
- Dish soap, a microfiber cloth, a dedicated toothbrush, and hot water for rinsing.
- Keurig Descaling Solution as a purpose-made option, white vinegar for an easy at-home mix, or citric acid (1–2 tbsp per ~4 cups water).
- A straightened paper clip and cotton swabs for clearing the brewer needle and tight openings.
Microfiber matters because it lifts oils and dries without streaks. That keeps the exterior and display clean without leaving lint.
For deep work, pick one of three approaches. The Keurig solution is made for descaling. A half vinegar/half water mix reduces lingering taste. Citric acid dissolves quickly and removes mineral scale.
| Type | Use | Mix |
|---|---|---|
| Commercial solution | Descale fast | Use per label |
| White vinegar | Household descale | Half vinegar / half water |
| Citric acid | Scale remover | 1–2 tbsp per ~4 cups water |
Having these basics ready takes only a few minutes and prevents mid-clean interruptions. That small prep step makes routine maintenance simple for most makers.
Weekly cleaning for removable parts and the exterior</h2>
Before any handling, switch off the unit and remove the water reservoir for inspection. A short weekly sweep keeps high-contact areas fresh and prevents buildup.
Unplug, disassemble, and set parts aside
Unplug the machine, then lift out the reservoir and its lid. Remove the drip tray and the pod holder. If a water filter sits inside, take it out first and set it aside before washing.
Wash, rinse, and dry removable parts
Hand-wash removable parts in warm, soapy water. Rinse thoroughly so no soap carries into the next cup. Towel-dry most pieces, but let the inside of the water reservoir air-dry to avoid lint.
Wipe controls and scrub the tray
After each brew, wipe buttons, the display, and any splatters so oils don’t harden. Scrub the corners of the drip tray where drips collect; this spot can turn into a grime bath if ignored.
| Step | What to remove | Quick tip |
|---|---|---|
| 1 | Water reservoir & lid | Remove water filter first |
| 2 | Drip tray | Scrub corners with a brush |
| 3 | Pod holder | Rinse and dry before reassembling |
Cleaning the pod holder and clearing the Keurig needle</h2>

Lift the handle and expose the pod area before any detailed cleaning. Removing the pod assembly makes it easy to reach all surfaces that touch brewed cups.
Push the K-Cup pod holder out from below and separate the funnel. Rinse the pieces under hot water to loosen oils and trapped debris. Inspect for stuck coffee grounds around the exit tube and puncture points.
Clearing stuck debris with a paper clip
- Straighten a paper clip and work gently. Use small circular motions to dislodge grounds from the exit tube and needle openings.
- Handle the sharp needle carefully and avoid forcing the tool. If the brew sputters or grounds appear in the cup, check the entrance needle under the brewer head.
- After manual clearing, reassemble the holder and run two water-only brew cycles. These cycles flush loosened debris from internal pathways.
| Area | Action | Tip |
|---|---|---|
| Pod / funnel | Rinse with hot water | Loosens oils and bits |
| Exit tube | Clear with straightened paper clip | Use gentle motions |
| Needle (entrance) | Inspect under brewer head | Run two rinse cycles after |
These short steps remove most buildup and keep the holder working well. Regular attention prevents clogs and keeps each cup tasting right.
how to clean a keurig coffee maker with descaling every three to six months</h2>
A regular deep descale keeps internal parts flowing and cups tasting bright. This periodic work removes hard water mineral deposits that affect taste and can clog valves and tubing.
When: descale about every three months for daily brewers and up to six months for occasional use. Prep: remove any water filter, start with an empty reservoir, and place a large mug under the spout before you begin.
Using the Keurig solution
Fill the reservoir with the descaling solution mixed per label, then add water as directed (often 16 oz solution plus 16 oz water). Run the largest brew cycle repeatedly until the reservoir is empty, dumping the hot liquid each time.
Vinegar method
Use a half-and-half white vinegar and water mix. Pour into the reservoir, run large brew cycles until empty, then let the machine sit for about 30–45 minutes so the solution works inside the system.
Citric acid option
Dissolve 1–2 tablespoons of citric acid in about four cups of water. Run the same large cycles as the other methods. After the reservoir runs through, allow the machine to rest for 30–45 minutes before rinsing.
| Method | Mix | Steps |
|---|---|---|
| Keurig descaling solution | 16 oz solution + 16 oz water (follow label) | Remove filter, run largest cycle until empty, let sit 30–45 minutes |
| White vinegar | 50% vinegar / 50% water | Run large cycles, soak 30–45 minutes, then rinse thoroughly |
| Citric acid | 1–2 tbsp citric acid in ~4 cups water | Run large cycles, rest 30–45 minutes, follow with fresh-water rinses |
Descaling is a deep clean that complements weekly washing of removable parts. After any method, run several fresh-water brew cycles so your next cup won’t taste like cleaner.
Rinsing the system after descaling so your coffee doesn’t taste like cleaner</h2>

A full flush of fresh water makes sure no cleaning solution remains in the system. Leftover descaling liquid or vinegar will change flavor and leave an off taste in your next cup.
Flush with fresh water using the largest cup setting
First, empty and wash the reservoir thoroughly. Remove water stains and any residue, then refill the reservoir to the MAX line with fresh water.
Run water-only brew cycles on the largest cup setting. Dump each cup and repeat the cycle about twelve times so the system is clear.
Quick setup and time cues
Keep a large mug or measuring container nearby to speed the process. The active work takes a few minutes, though the machine runs most of the minutes hands-off.
After the final cycle, leave an empty cup under the spout for a minute. This catches any small drips while the system finishes clearing.
Why this rinse process is non-negotiable
Without a proper rinse, descaling residues can affect coffee taste and linger in tubing and valves. Follow this repeatable process after every descale to protect flavor and system health.
For extra guidance on preventing mold and buildup, see prevent mold and buildup.
Water reservoir hygiene, water filter care, and mold prevention</h2>
Fresh water in the tank keeps each cup tasting bright and prevents stale flavors. Emptying old water often stops musty notes before they affect your next cup coffee.
Daily reservoir habits
Dump standing water and refill the reservoir every day or whenever it looks cloudy. That small step keeps water fresh and helps the maker perform predictably.
Filter cadence and prep
Replace the water filter cartridge every two to three months and right after any descale. Before installing, soak a new filter for five minutes, then rinse under running water for about 60 seconds.
Mold response and safe care
If you spot mold, remove water immediately. Scrub the reservoir with warm, soapy water, rinse thoroughly, and dry completely before reuse. Do not use bleach; residue risk is not worth it.
- Daily: remove water, refill with fresh water.
- Every 2–3 months: swap the water filter.
- If mold appears: scrub, rinse, and dry fully.
| Task | When | Benefit |
|---|---|---|
| Refill reservoir | Daily | Better cup coffee flavor |
| Replace filter | 2–3 months | Cleaner water, consistent taste |
| Mold action | As needed | Safe, odor-free use |
Keeping your Keurig running smoothly between deep cleans</h2>
Simple daily steps make the machine more reliable and extend its life.
Use this quick checklist between deep cleans: wipe the exterior after each brew, empty and rinse the drip tray, and keep the pod holder area free of grounds. Change reservoir water often and run a water-only brew cycle when you switch pod flavors.
If your unit sputters, brews slowly, pours watery coffee, or leaks, start with the needle and holder. Next confirm power and water level, then run one or two rinse cycles. If performance still lags, schedule the next descale.
These small habits cut time spent on fixes and stop bacteria-prone sludge in its tracks. A steady routine helps your clean keurig deliver consistent flavor and a longer working life.